
That being said, there are a lot of different skills you might choose to develop. Mastering balayage placement and application techniques is always popular. So are root smudging and gray blending.
One area that tends to trip up a lot of artists, especially early in their careers, is formulation for a color melt. With this in mind, we’ve gathered some tips to help you master the craft, plus three stunning color melt formulas you can add to your arsenal.
Tips For Formulating Your Color Melt
1. ALWAYS APPLY YOUR PRODUCT ON DAMP HAIR.
Dry hair will rapidly absorb dye, which can lead to uneven distribution and splotchiness in the end result if you aren’t careful. Starting with damp hair will slow down the absorption a bit and give you more time to get the product exactly where you want it. It’s also best to run a small amount of conditioner over the ends so they don’t suck up any excess color that you are brushing down.
2. KNOW HOW YOUR COLOR LINE WORKS.
If you’re using a translucent color, it’s usually best to formulate at least two levels below the natural coverage. Even when highlights are lifted higher, in order to erase lines and have some coverage it needs to be darker. Remember that because the hair is damp it is diluting the pigment as well.
However, with more opaque lines, you may be able to formulate right on natural level or just one level darker.
You know your color line best, but testing this out can be really helpful. Grab a mannequin with some chunky highlights and test out the different levels to see what works best.
3. BE CAREFUL OF ADDING TOO MUCH REFLECTION.
When you formulate, it’s important to remember that adding warmth will add more reflection, while adding ash will mimic more of the natural tone. Obviously if you want a warm result the formulation will be much different, but most times you need a little ash in your formula so you are not creating a tone of reflection instead of coverage.
3 Great Color Melting Formulas To Inspire You
Now that you’ve got the basics down, we wanted to share three hot color melting formulas and scenarios that you can test out and add to your repertoire.

One important note, though, before we get started: No two canvases are ever exactly the same, so it’s crucial that you understand the hair you are working with before you begin formulating. Once you understand the pigments and tones that already exist in your client’s hair, you should 100% adjust the formula as necessary. These are only meant to inspire you!

Natural level: 4
Lifted level: 8 gold
Melting formula: 1oz 5n, 1/2oz 5cb, 1/4oz 5v

Natural level: 5
Lifted level: 8 yellow
Melting formula: 5N

Natural level: 7
Lifted level: 9 pale yellow
Melting Formula: 1oz 6N, 1/4oz 6T
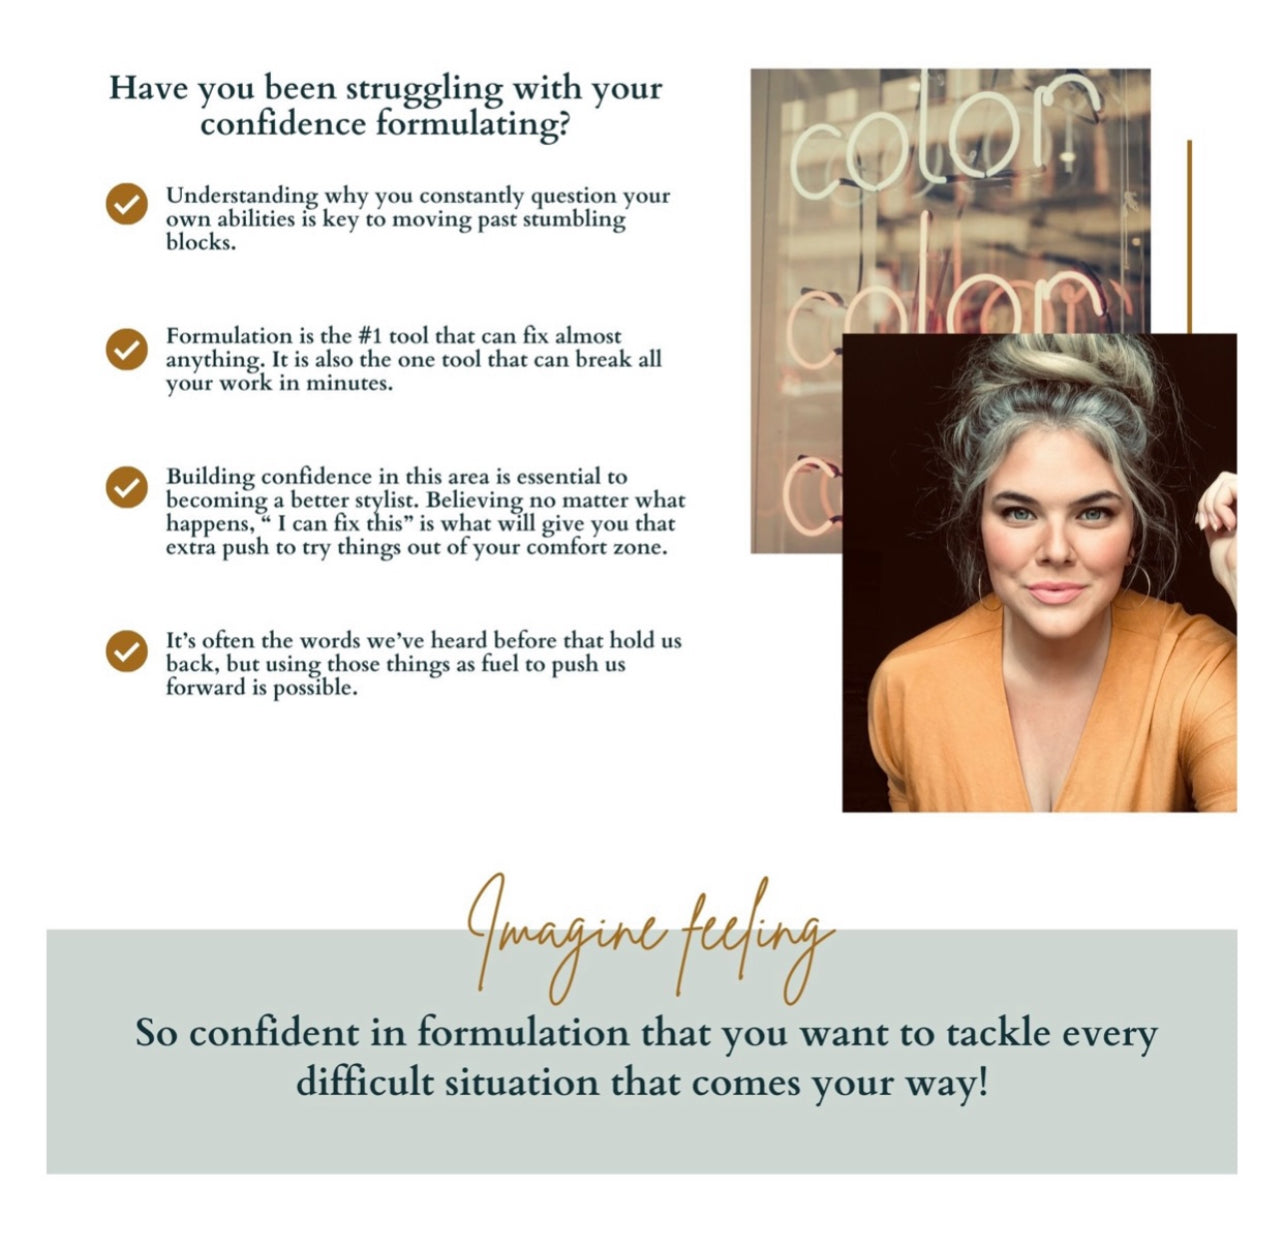
Have you been struggling with your confidence when it comes to formulation? Building confidence in this area is the key to becoming a better stylist, empowering you to deliver the results that your clients are looking for. Sign up for the COLOR LAB SERIES with Christine, where you'll learn the fundamentals of color theory and real, tactical skills that will allow you to formulate with the confidence that you need!