HOW TO SIMPLIFY YOUR COLOR APPLICATION
Let’s be real, we are headed into the busiest season of all and your schedule is packed. There are ways to create really impactful color without taking 4+ hours.
The trends have become really intense. Beautiful, but intense. Long gone are the days with a quick application and no blow dry. And while this is honestly a good thing, it can create unnecessary pressure for the stylist who is struggling with time management. Not only that, it can mean you aren’t getting paid enough for the time you’ve spent.
While money can be a touchy subject, it seems even worse around the busy seasons of hair.
Creating comfort and trust is crucial when opting for a simpler color application. Your client needs to know that you are still giving them the ultimate tone, placement and color during their shorter appointment.
This is by no means a way to skip out on important details. These following steps are simply a way of achieving the same desired result with a little less stress.
First things first:
CONSULTATION: Aim for a 15 minute consultation vs the normal 20-30 minutes, and take charge of the appointment. Instead of asking your client what they would like, or what they were thinking, keep your ideas strong! Let them know what will look best on them for this time of year. Consider lightening the most important areas of their head only. This still means, charge the full amount.
When you are utilizing placement accordingly, the result will still be considered a full. Think about all the areas on the head that the sun hits. These are going to be the areas that show the most and need the most attention. When I say that, I’m also referring to when their hair is in a ponytail! This means the entire hairline should be a point of brightness. The areas you do not need to focus on all the areas of depth. This will help pop those brighter pieces and actually make them seem brighter.
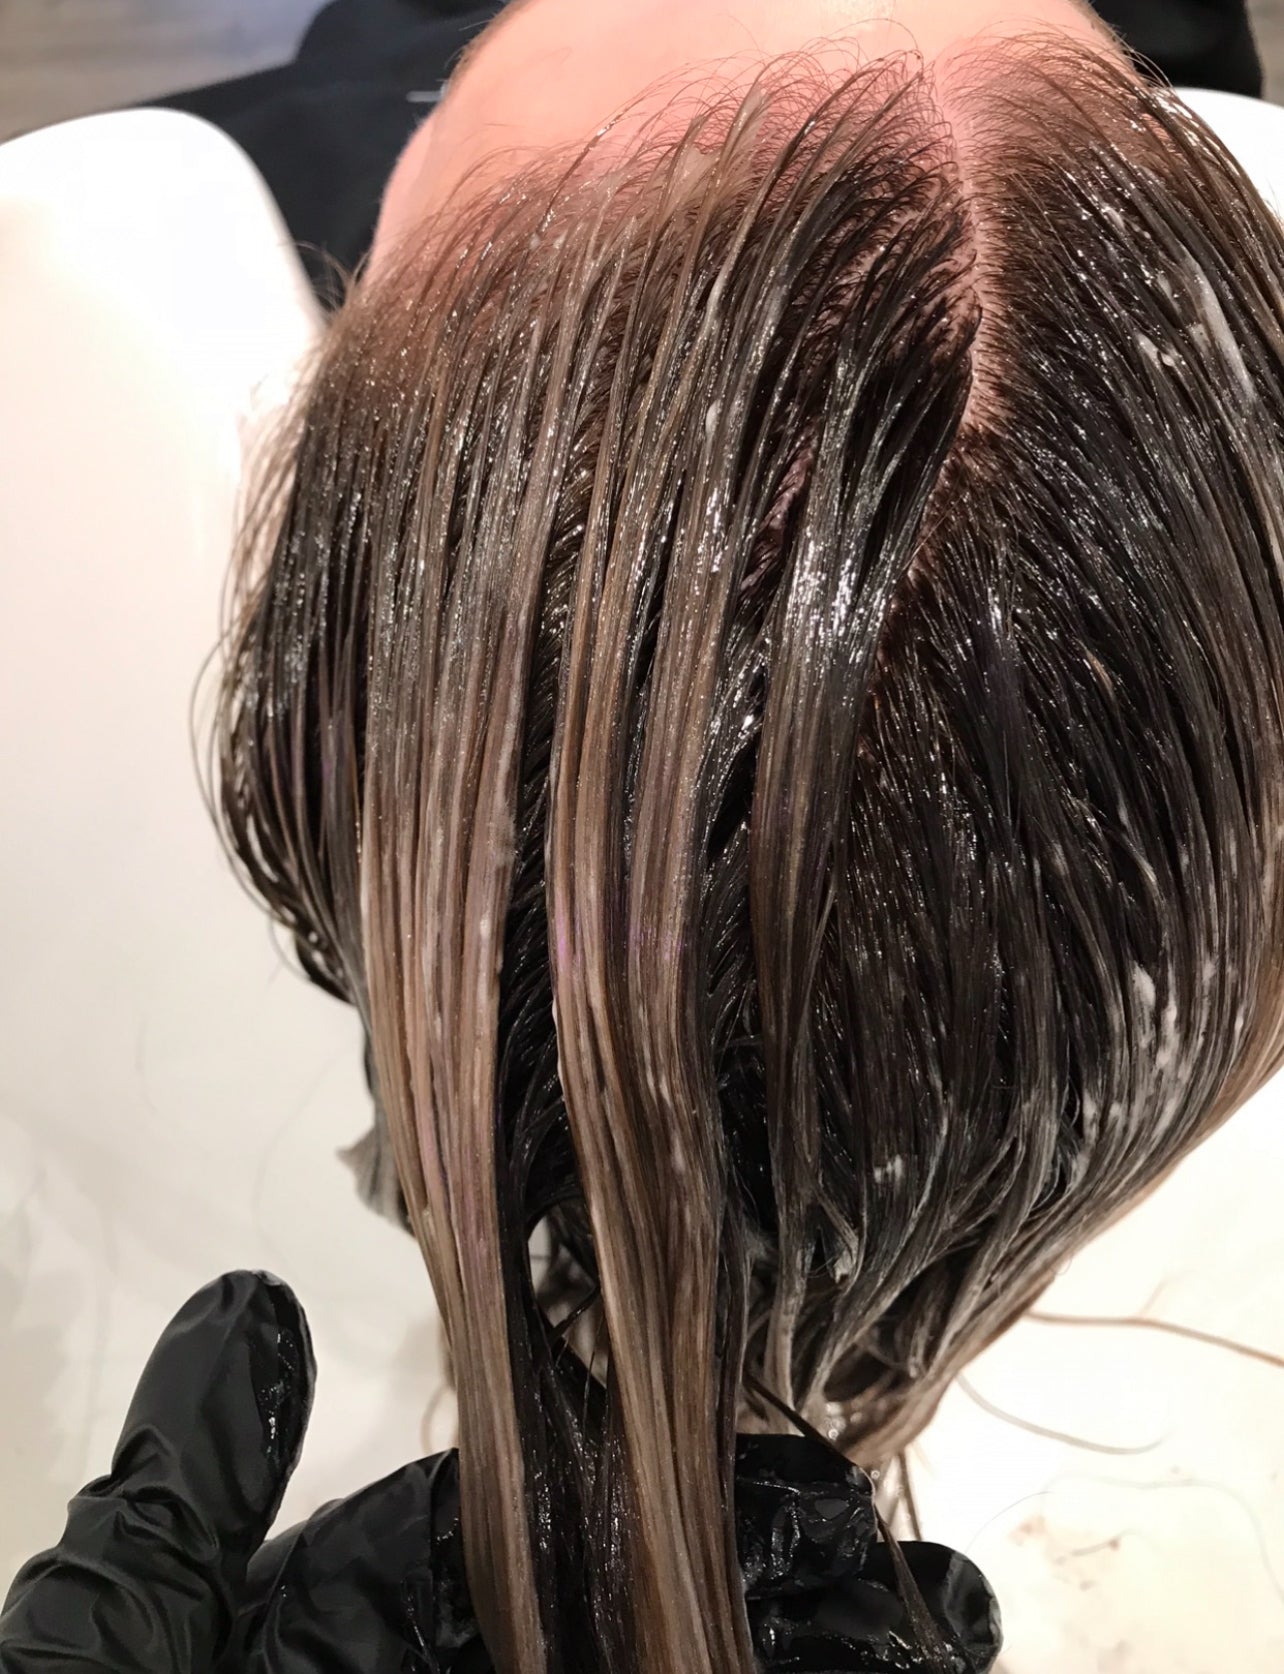
TONAL SHIFT: Maybe your client just needs an updated tone and some brightness added around the face. You can easily utilize wet balayage for this. Simply shampoo and condition the hair, leaving it damp. Mix a foiling lightener with 20 volume and paint the front hairline (only areas that have been previously lightened) along with the ends. Let this process for no more than 7-10 minutes. The idea is to simply swell the cuticle in order to receive a fresh gloss. This is an awesome way to brighten those blondes in under 90 minutes. They will receive a fresh new color in a fraction of the time. Make sure to completely shampoo the lightener out or it can be reactivated when the melt or gloss is applied.
MELTING: Melting is a great way to achieve a very different result with a much quicker technique. This is a perfect way to transition someone with foils into an easier regrowth and maintenance option. The focus is always keeping their face frame brighter, while creating depth towards the root area. Many people are open to this, especially during busy times in their life.
Remember to clarify the hair and keep it damp with conditioner on the ends. Always use a spray bottle at the chair to ensure the ends remain wet during the process. This helps keep color from transferring on to the lighter pieces. Work quickly through each section and let it process for the full 20 minutes.
I recommend using a translucent line (like Redken SEQ) for melting that does not have the ability to lift. This makes for a seamless transition and an easy grow out.
The idea is that most people do not need a huge color overhaul each appointment. Tiny shifts create great impact just as well. This also helps preserve the client’s hair integrity and makes for healthier length.
Learning more and more about formulation will help you move quicker through these steps. Feeling confident in your work is such a freeing experience. When you’re able to create from a place of fun instead of stress, your work becomes more true to who you are.
Try our FOILED TO LIVED IN tutorial out today! This will help you understand each step explained above. It is the 3-IN-1 tutorial that makes most sense. Learn about balayage, placement , melting, glossing and of course formulation. Find this tutorial under “online tutorials” on our website.
